Raspberry Pi OS is the official operating system for the Raspberry Pi boards. Though it is possible to install different kinds of OS on the raspberry Pi. We will only cover how to install Raspberry Pi OS using a windows machine.
First we need to download Raspberry Pi Imager. This user friendly tool will enable you to install the Raspberry Pi OS on a microSD card.
Use this link to get Raspberry Pi Imager.
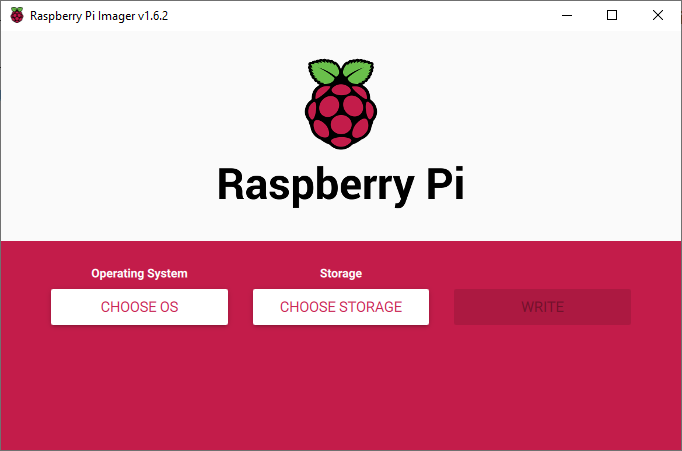
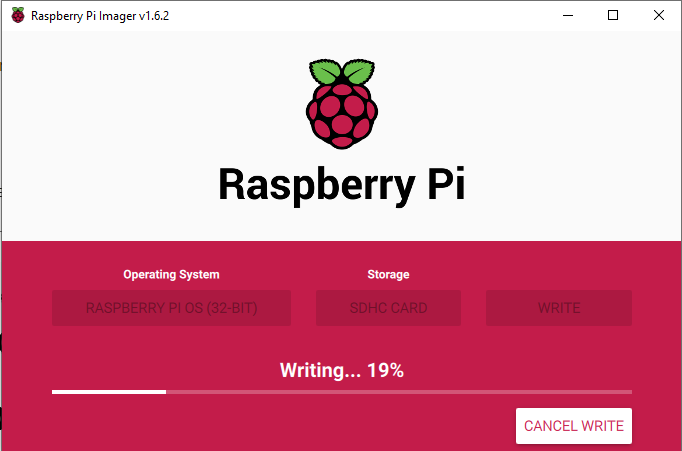
After you Download and install the Imager. launch it to see the following user interface
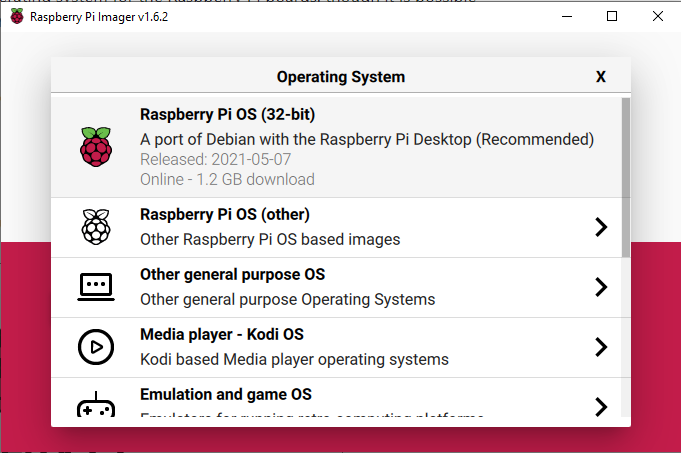
Click on CHOOSE OS to pick the type of OS you wish to install. In my case I will choose the Raspberry Pi OS with the desktop environment, because I would like to use the PI as a desktop machine. You can find more options there, if you don’t need the desktop you may wish to explore the options under Raspberry Pi OS (other).
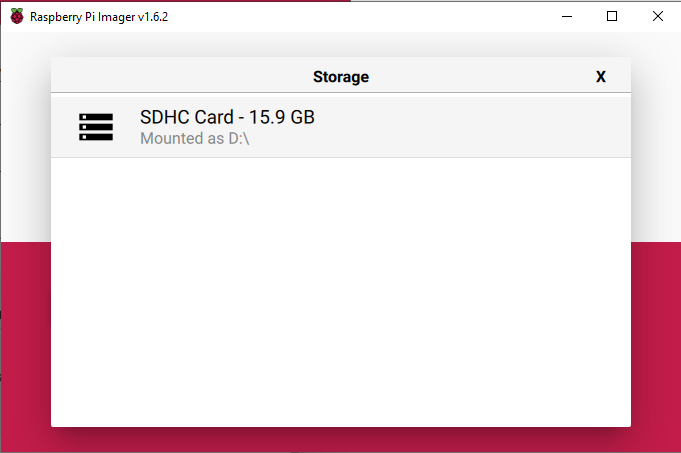
Click on CHOOSE STORAGTE to pick the microSD card you wish to install the OS on. In my case I have only one SD drive.
Click WRITE to start programming the microSD card.
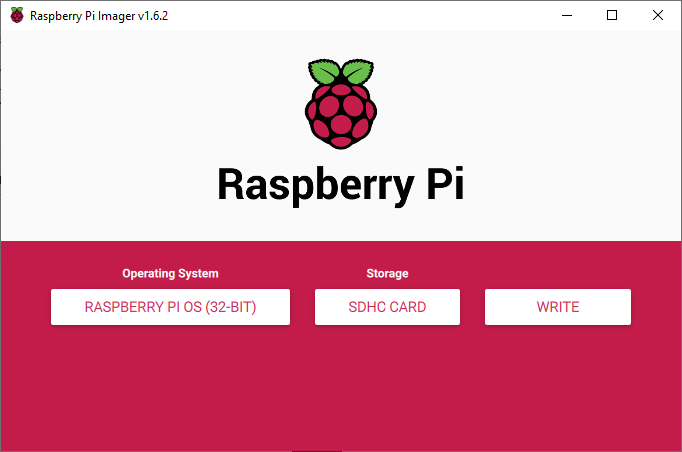
Now, you just need to wait for the process to finish.
Now you can insert the SD card in the Pi and boot the device.
Enable SSH on a Headless Raspberry Pi
To enable SSH on the Pi without having to connect a monitor and a keyboard. You need to simply insert the SD card in anther PC, and add a file named ssh in the root directory of the SD card.
If the file is found, the SSH server will be enabled automatically and the file will be deleted.
Just a simple empty file called “ssh” with no content.
Connect to WiFi on First Boot
In some cases you would like to connect to the WIFI network upon first boot. There are many reasons why you might need to do this. The main reason is perhaps there is no physical access to the router and WIFI is actually the only option.
To connect the raspberry pi to the WIFI network upon first boot we need to create a file named “wpa_supplicant.conf” in the root directory of the SD card.
The content of the config file should be as follows:
country=US
ctrl_interface=DIR=/var/run/wpa_supplicant GROUP=netdev
update_config=1

network={
    ssid="wifi_ssid"
    psk="wifi_password"
}
replace the “wifi_ssid” and “wifi_password” with your actual network info. Also select the country two letter identifier according to the ISO 3166-1 alpha-2 standard.
The file will be copied to the /etc/wpa_supplicant/ once the boot process is over.
Connecting to the Raspberry Pi via SSH
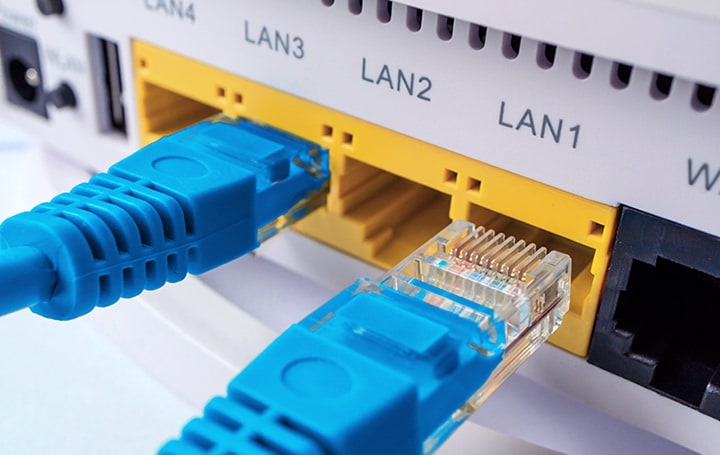
To connect to the Pi via SSH first we need to connect it to the network.
Connect the Pi to the LAN port on your home router and power it up. Wait about a minute for it boot.
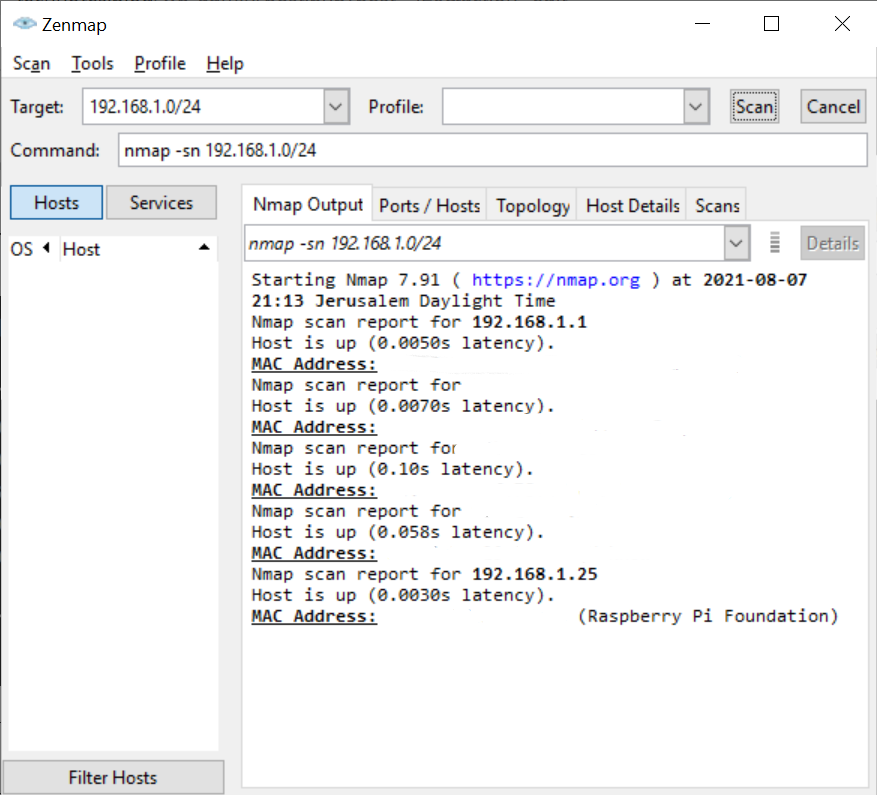
Now that everything is connected we need to find the IP Address that was assigned to the Pi. We will use a useful tool called nmap. Download nmap here.
Since this is a Windows tutorial, I will use the windows version of nmap.
Now let’s find out the Default gateway so you could be able to scan your network.
Open a Command Prompt and run the command “ipconfig”

The Default Gateway on the network I am using is 192.168.1.1
To perform a quick scan of the network open nmap GUI. Run the the command “nmap -sn 192.168.1.0/24“
After the scan is done, you will see the raspberry Pi IP address. For me it is 192.168.1.25
Note: you need to replace the last number of the Default gateway address to 0/24.
Now That we know the IP Address of the Pi we will use PuTTY for SSH. Download PuTTY.
Use the IP you found before (in my case 192.168.1.25).
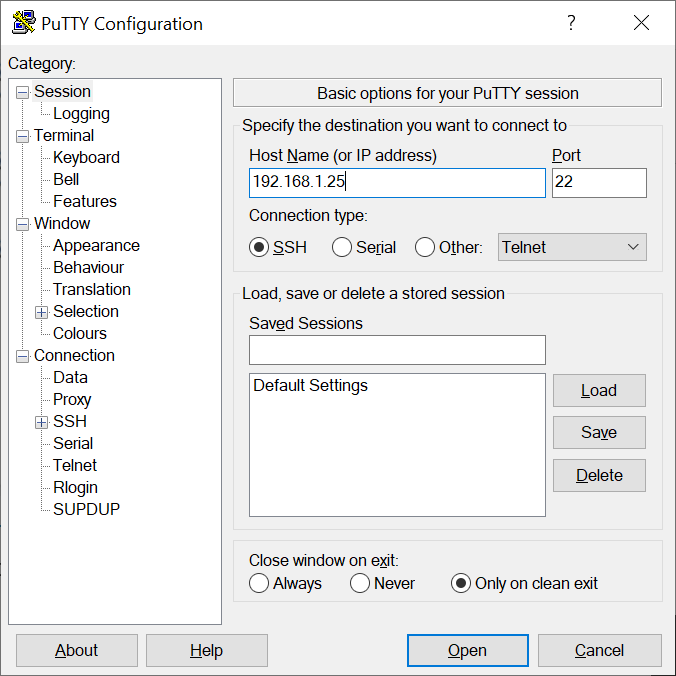
Click “open” and login using the default username and password for the pi (make sure to change these).
username: pi
password: raspberry