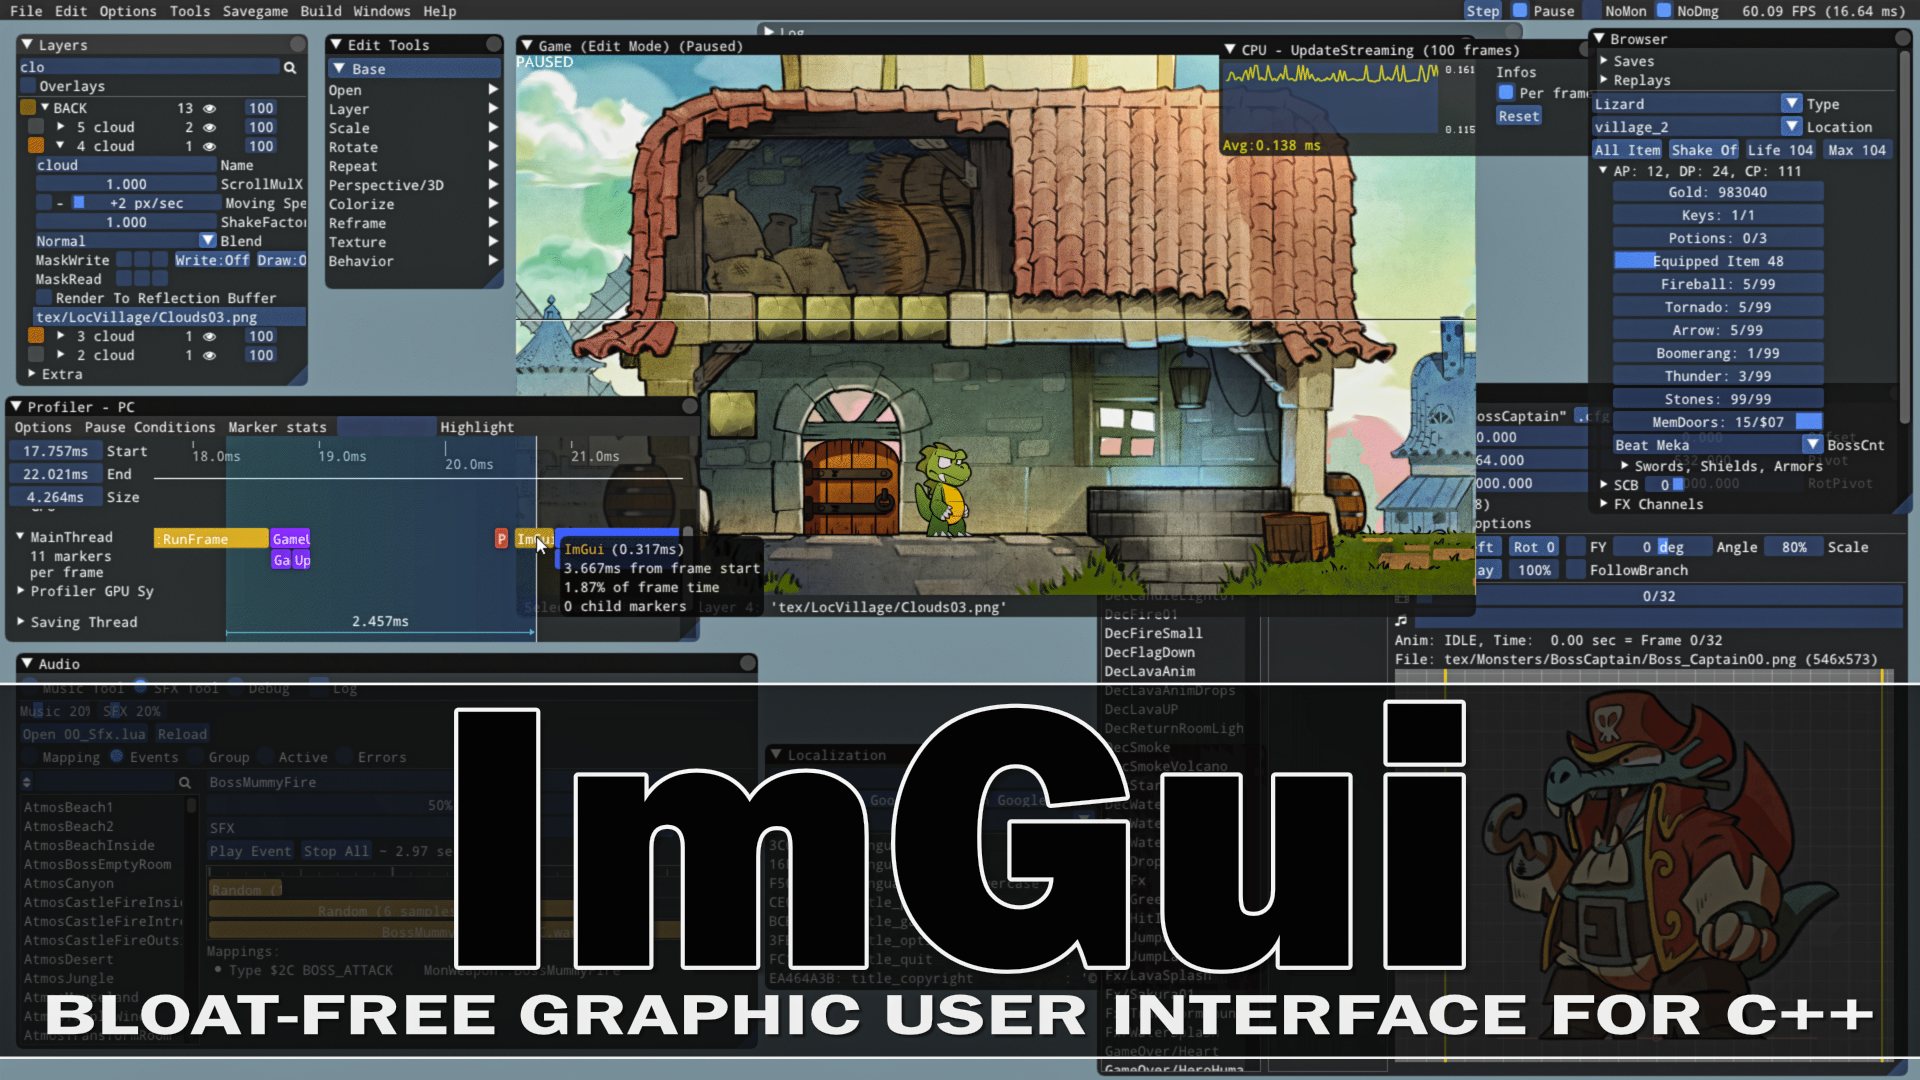
Dear ImGui, short for Immediate Mode Graphical User Interface, is a powerful and lightweight GUI library that allows developers to quickly create graphical user interfaces for their applications with minimal overhead. ImGui is written in C++ and is highly customizable, making it a popular choice among game developers, embedded systems developers, and other applications that require fast and efficient UI rendering.
If you’re new to ImGui and want to get started with building user interfaces, this blog post will provide you with a step-by-step guide on how to get started with ImGui and create your first UI.
Step 1: Set up your Development Environment
Before you can start using ImGui, you’ll need to set up your development environment. ImGui is a C++ library, so you’ll need a C++ compiler and a compatible IDE (Integrated Development Environment) such as Visual Studio, Visual Studio Code, or Xcode, depending on your platform. You’ll also need to have a basic understanding of C++ programming concepts, such as variables, functions, and classes.
Step 2: Download and Include ImGui in Your Project
Once your development environment is set up, you’ll need to download the ImGui library. You can find the latest version of ImGui on the official GitHub repository (https://github.com/ocornut/imgui). ImGui is a single-header library, which means you only need to include a single C++ header file in your project to use it.
To include ImGui in your project, simply download the “imgui.h” header file from the GitHub repository and add it to your project’s source code directory. Then, include the “imgui.h” header in your C++ source code using the #include directive, like this:
#include "imgui.h"See my post “Integrating IMGUI with CMake: A Step-by-Step Guide with Code Examples” to get you started on creating a build environment.
Step 3: Initialize and Create an ImGui Context To start using ImGui
You’ll need to initialize an ImGui context. The ImGui context is an object that holds the state of the UI and manages the rendering of UI elements. You can create an ImGui context by calling the ImGui::CreateContext() function, like this:
ImGui::CreateContext();
You’ll also need to set up a few ImGui configuration settings, such as the style of the UI, input settings, and backend rendering settings. You can do this using the various functions provided by ImGui, such as ImGui::StyleColorsDark() to set a dark color scheme, ImGui::GetIO().ConfigFlags to configure input settings, and ImGui::GetIO().BackendFlags to configure backend rendering settings.
Step 4: Create a Window and Draw UI Elements
With the ImGui context initialized, you can now start creating UI elements. In ImGui, UI elements are drawn using immediate mode rendering, which means that you don’t need to create and manage UI objects like you would with traditional UI frameworks. Instead, you simply call ImGui functions to create UI elements directly in your main loop or event handling code.
To create a window, you can call the ImGui::Begin() function, which takes a string as the window title. This function returns a boolean value that indicates whether the window is currently open or closed. You can use this return value to conditionally render UI elements inside the window. For example:
if (ImGui::Begin("My First ImGui Window")) {
    // Draw UI elements here
}
ImGui::End();
Inside the ImGui::Begin() and ImGui::End() block, you can call various ImGui functions to draw UI elements such as buttons, text inputs, sliders, and more. These functions take parameters such as labels, values, and callbacks to configure the behavior and appearance of the UI elements.
For example, to create a button, you can use the ImGui::Button() function, like this:
if (ImGui::Button("Click Me!")) {
    // Code to handle button click
}
You can also create more complex UI layouts by nesting ImGui::Begin() and ImGui::End() calls, creating multiple windows, and using ImGui’s built-in layout and spacing functions.
Step 5: Handle Input and Update UI State
ImGui Provides functions to handle input events such as mouse clicks, keyboard input, and window resizing. You can use these functions to update the state of your UI and respond to user interactions.
For example, you can use the ImGui::IsMouseClicked() function to check if a mouse button was clicked, and the ImGui::GetIO().MousePos variable to get the current mouse cursor position. You can then use this information to update the state of your UI elements and trigger appropriate actions.
Step 6: Render the UI
After updating the state of your UI you’ll need to render it. ImGui provides a simple rendering API that allows you to draw UI elements onto a graphics buffer, which you can then display on your application’s window or integrate with your rendering pipeline.
To render the UI, you can call the ImGui::Render() function, which updates the draw data in the ImGui context. You can then use the draw data to render the UI onto your graphics buffer using your preferred graphics API, such as OpenGL, DirectX, or Vulkan.
Step 7: Cleanup and Shutdown
Finally, when you’re done using ImGui, you’ll need to clean up the ImGui context and release any resources that were allocated. You can do this by calling the ImGui::DestroyContext() function, like this:
ImGui::DestroyContext();This will clean up any memory and resources used by the ImGui library and properly shut it down.
Conclusion Dear ImGui is a powerful and flexible GUI library that makes it easy to create user interfaces for your applications. By following the steps outlined in this beginner’s guide, you can quickly get started with ImGui and start building your own UI. Remember to set up your development environment, include the ImGui header in your project, initialize and create an ImGui context, create and update UI elements, render the UI, and clean up after you’re done. With practice and experimentation, you can create complex and interactive user interfaces using ImGui to enhance the functionality and usability of your applications. Happy coding!
